

Product photography guide
How to photograph clothes to sell online
A window, a white board and the phone you already own are enough. This guide covers the setup, the light, the eight shots every clothing listing needs and the rules Etsy, eBay and Amazon check.
The short answer
Steam the garment, hang it or lay it flat on a white surface next to a large window, and shoot with your phone's main 1x lens from far enough away that the item fills about 85% of the frame. Then take the eight shots buyers look for: front, back, side or drape, fabric close-up, size label, care label, any wear, and one photo on a person.
1. Choose how to present the garment
Before you set anything up, decide how the clothes will be shown. There are four common ways, and each one suits different items and different shops. Most sellers pick one for the main photo and stay with it across the whole shop, because a consistent grid of thumbnails looks more trustworthy than a mix.
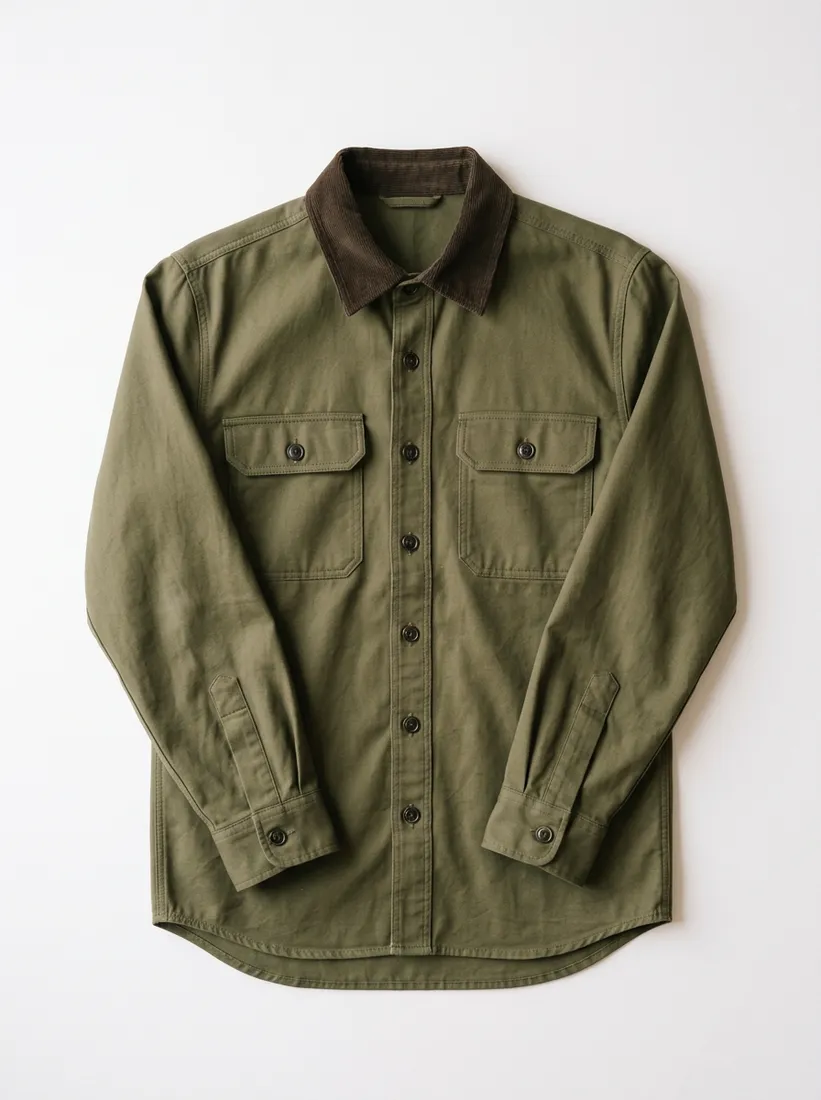
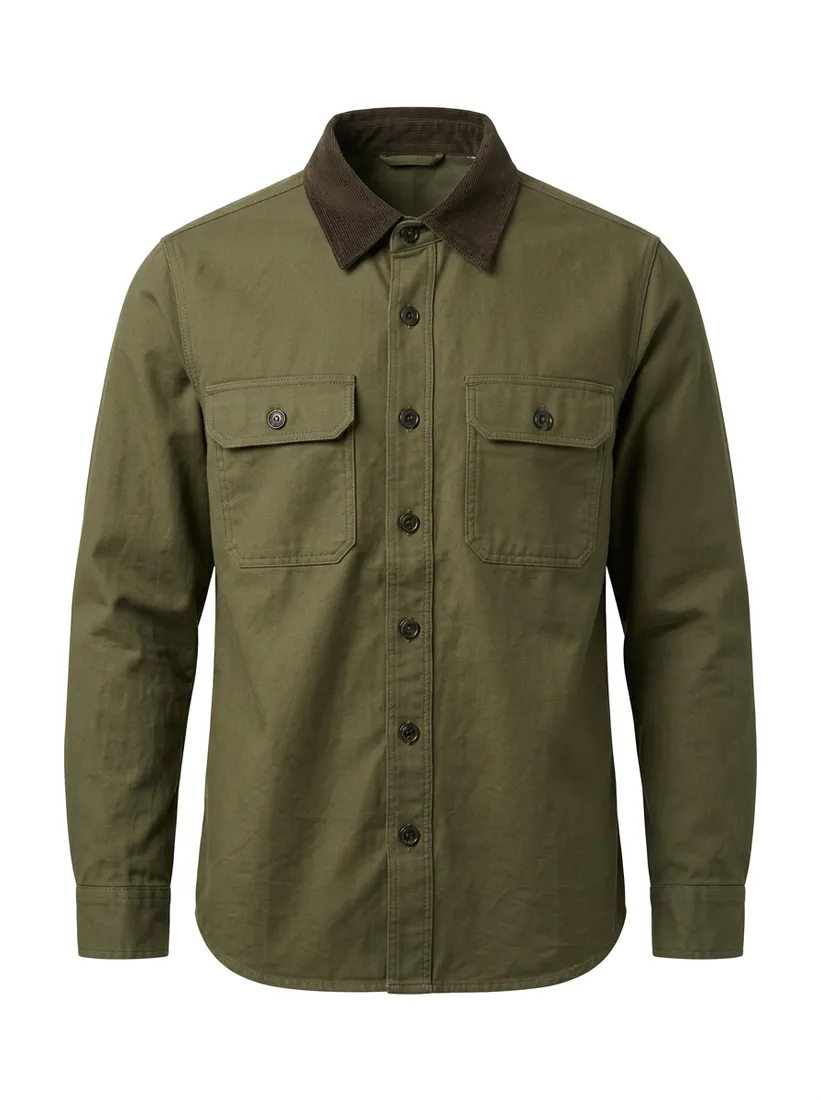
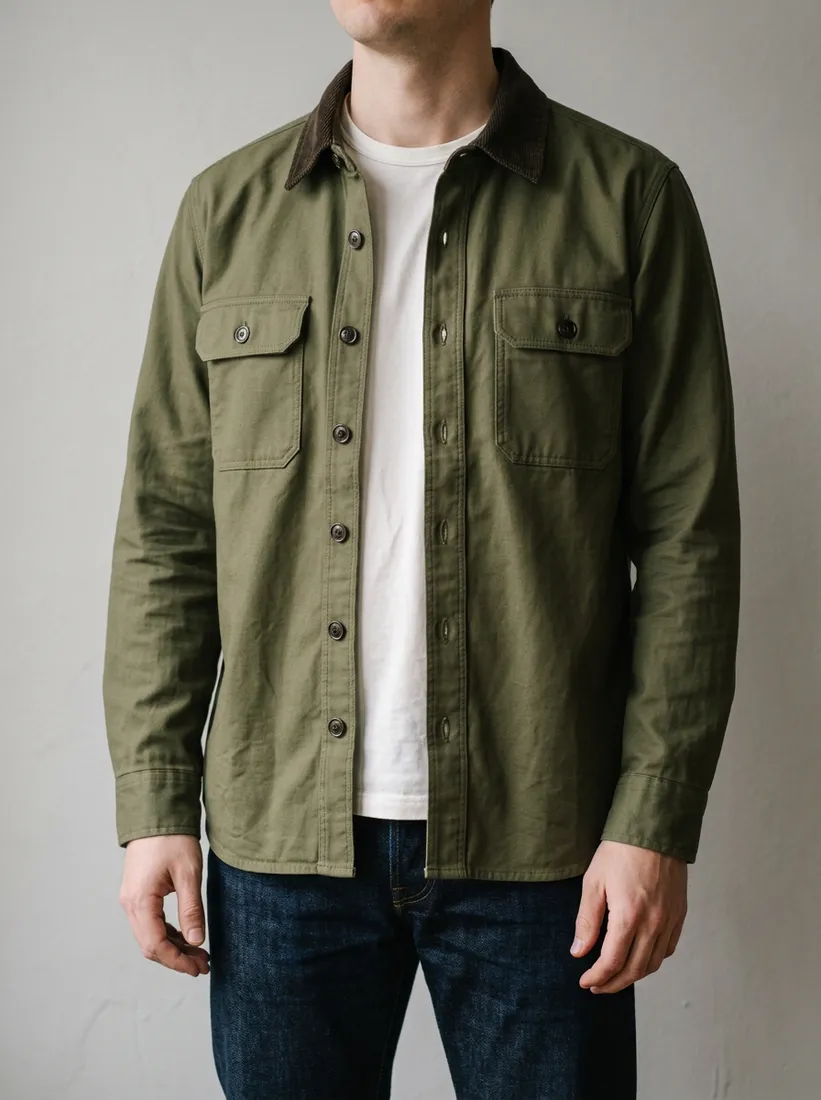
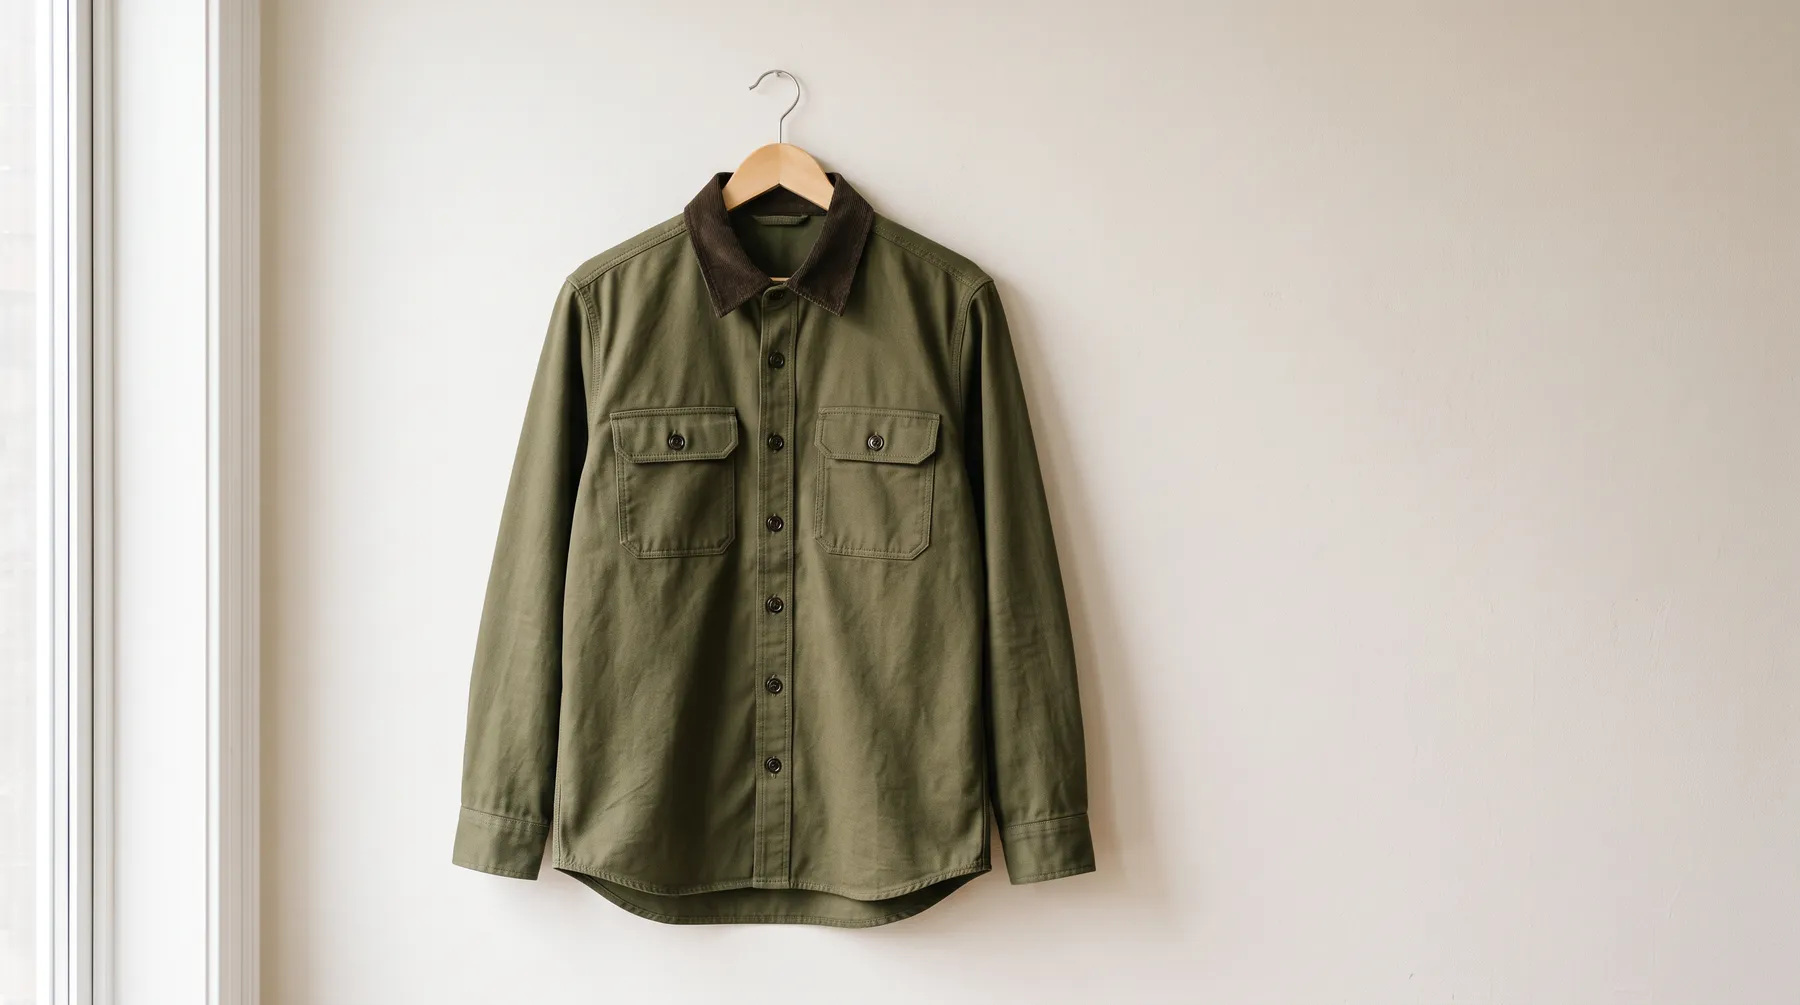
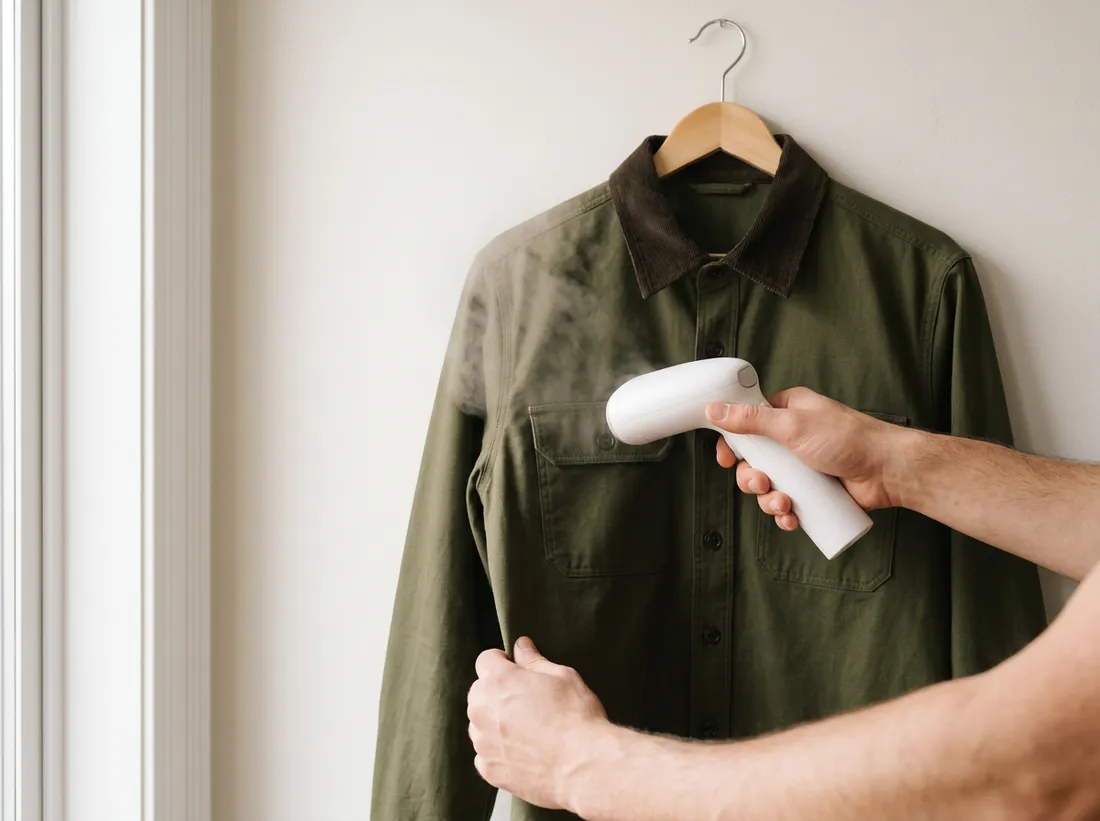
The fourth option is a hanger against a wall, like the photo at the top of this page. It is quick and works well for jackets and dresses that hold their shape, but the hanger has to go before the photo becomes a main image on Amazon, and a hanger flattens the shoulders of soft knits.
| Method | Cost | Shows fit | Good for |
|---|---|---|---|
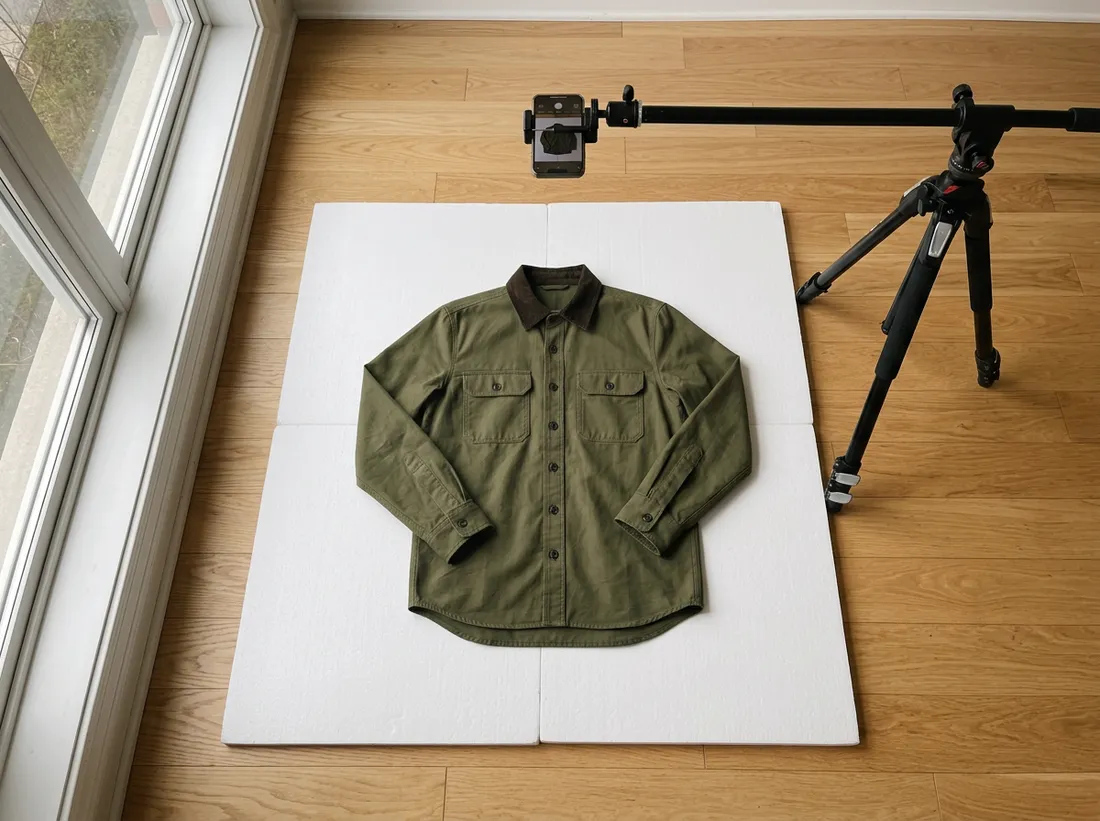
| Flat lay | White board, step stool | No | T-shirts, knits, baby clothes, sets |
| Hanger | Wooden hanger, nail or rail | A little | Coats, jackets, dresses, second-hand listings |
| Invisible mannequin | Mannequin, editing time | Shape only | Brand shops, consistent catalogues |
| On a person | A model, or an AI photo from your flat lay | Yes | Fitted clothing, the Amazon main image |
2. Prepare the garment
A camera shows every crease, crumb and pet hair at twice the size buyers would notice in person. Ten minutes of preparation does more for a listing than any editing later.
- Wash or air it out so the fabric lies naturally. Freshly folded clothes keep sharp fold lines across the chest.
- Steam, do not iron, wherever you can. Steam relaxes the fibres without flattening corduroy, knits or textured weaves, and it leaves no shine on dark fabric.
- Lint-roll both sides, including the inside of the collar, which shows in the label shot.
- Empty the pockets and remove price stickers, but keep original swing tags on new items. Buyers read them as proof the item is unworn.
- Button and zip it the way it would be worn, and straighten the collar and cuffs.
3. Set up the light
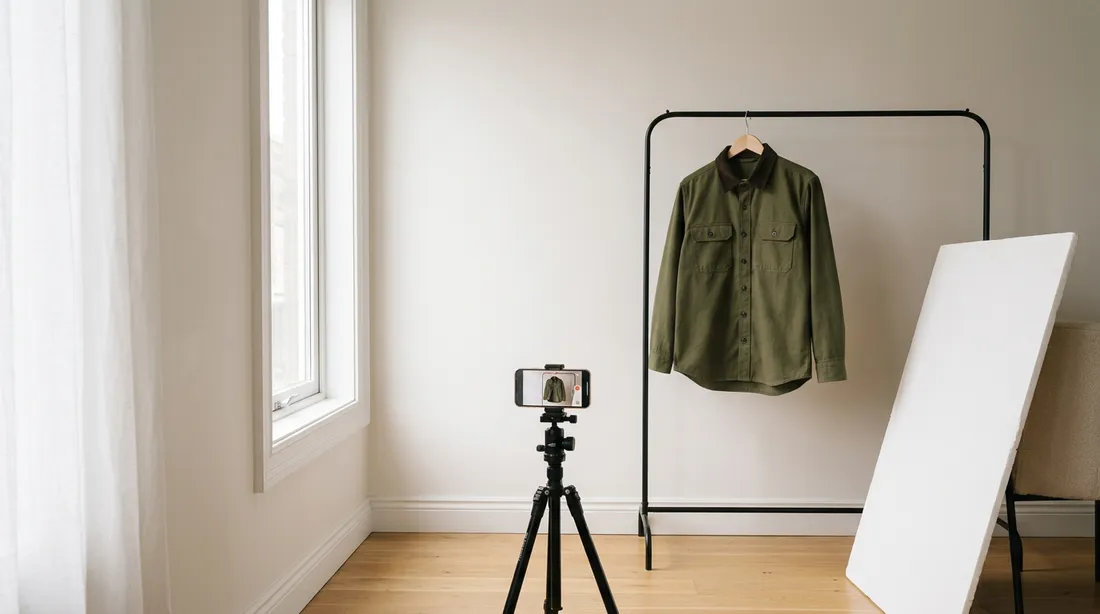
Good clothing photos come from soft, even light that shows the true colour of the fabric. The best free source is a large window that does not get direct sun. Overcast days are ideal. Direct sunlight makes hard shadows and pushes colours warm, so if the sun shines in, hang a thin white curtain or a sheet over the window.
- Hang the garment or set up your board about one metre from the window, side-on to it.
- Place a white foam board on the side away from the window. It bounces light back into the shadows. A white sheet over a chair works too.
- Turn off ceiling lights and lamps. Mixing warm bulbs with daylight gives the fabric two colours at once, and no editor can fully correct that.
- Put the phone on a tripod at chest height for hanging items, or straight above the garment for flat lays.
4. Phone settings that matter
Any phone from the last five years takes sharp enough photos for every marketplace. What spoils them is usually the wrong lens or an exposure that guesses wrong because of the white background.
- Use the 1x or 2x lensThe 0.5x wide lens bends straight hems and makes sleeves look longer than they are. Step back and use 1x or 2x instead.
- Turn the grid onLine up the centre placket or the side seams with the grid so the garment stands straight.
- Tap and lock exposureTap the fabric, then hold until exposure locks. On white backgrounds phones tend to darken the whole frame.
- Flash off, HDR on autoFlash flattens texture and makes dark fabric shine. Auto HDR helps keep detail in black and white garments.
- Use a timerA 3-second timer or a Bluetooth shutter stops the shake from tapping the screen.
- Shoot in the highest resolutionCrop later rather than zooming in. Etsy and eBay show zoom only on large images.
5. The eight shots every listing needs
Buyers cannot touch the garment, so photos have to answer the questions they would ask in a shop: what does it look like from every side, what is it made of, what size is it really, and is there anything wrong with it. A full set of eight photos answers all four. Shoot them in this order so you never forget one.
- Front, the full garment, straight on. This becomes your main image.
- Back, with the same framing as the front.
- Side or drape, to show length and how the fabric falls.
- Fabric close-up, filling the frame, in side light that shows the weave.
- Hardware: buttons, zips, rivets or embroidery.
- Size label, readable, plus the care and fibre label.
- Any wear or flaws, close and clearly lit.
- On a person, for fit and scale.
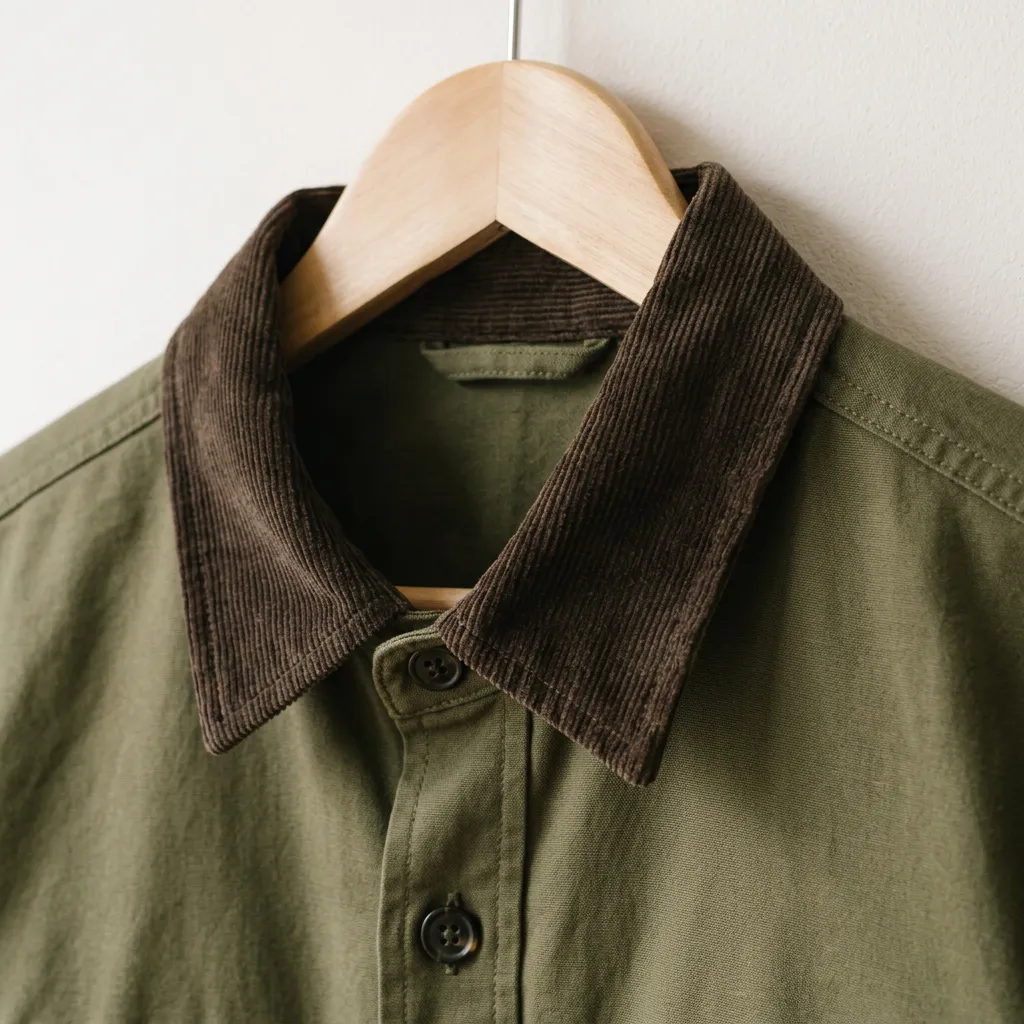
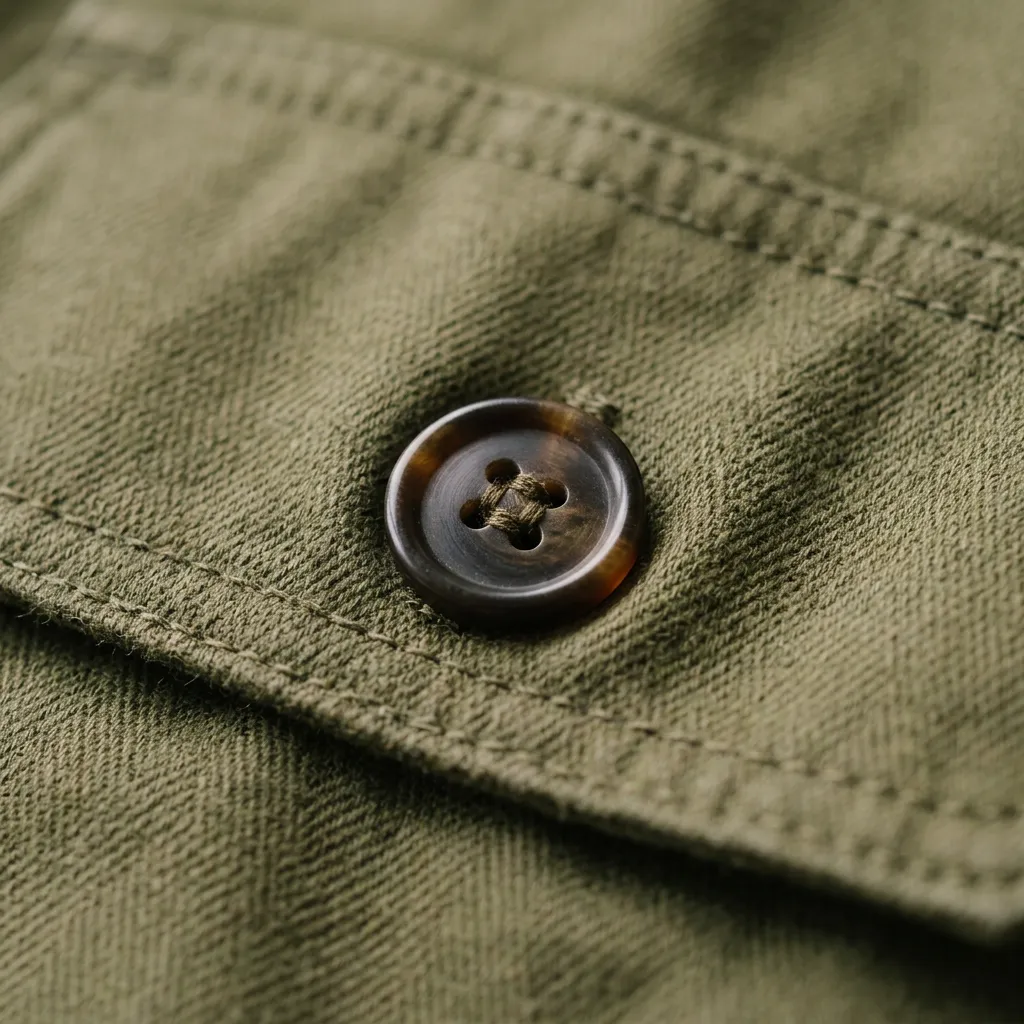
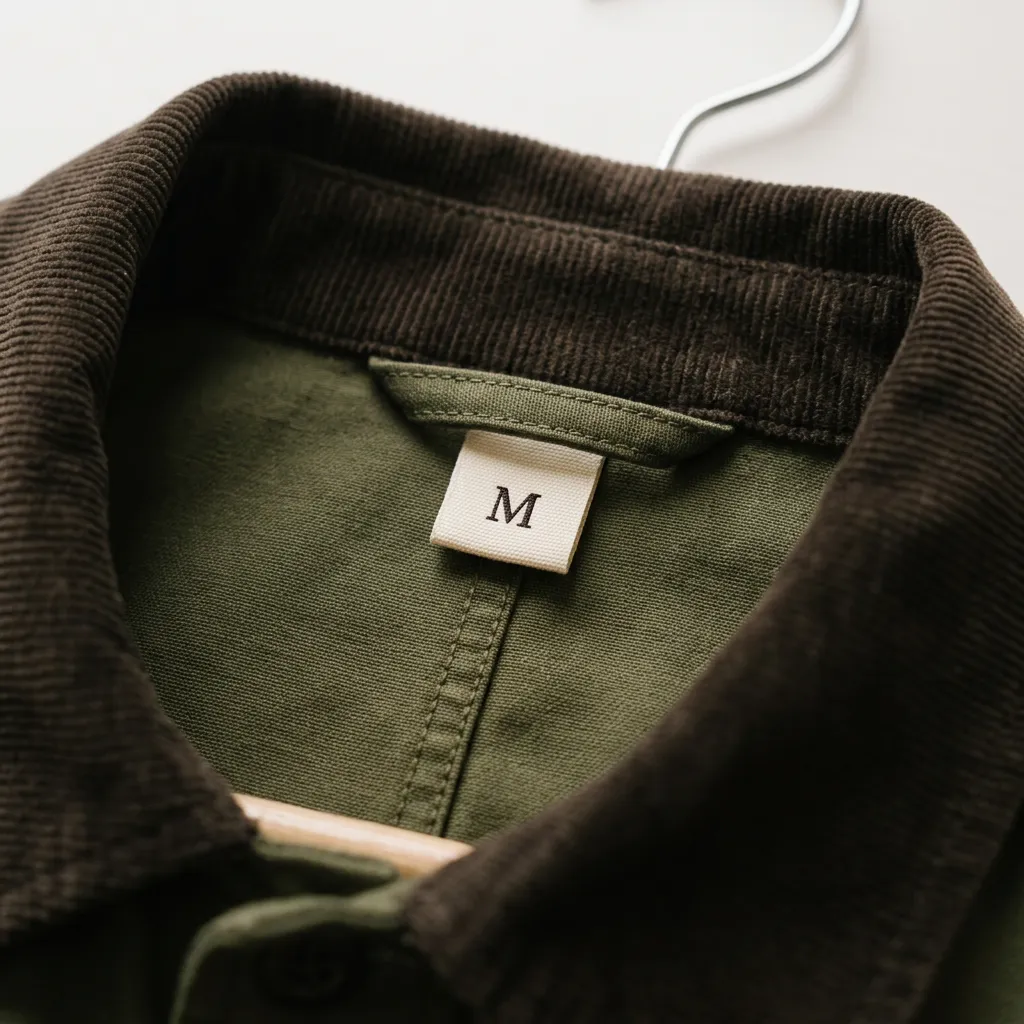
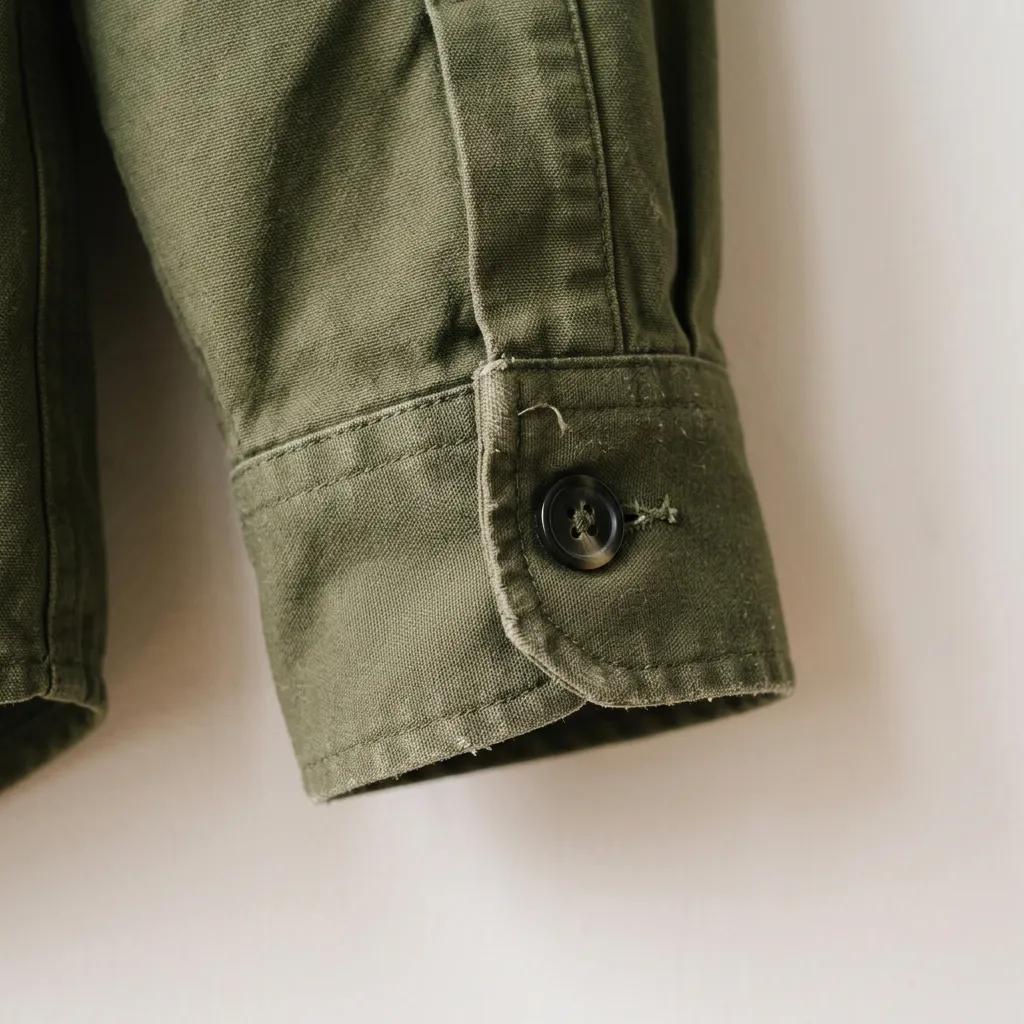
The wear photo is the one sellers skip, and it is the one that prevents most returns and bad reviews. A buyer who has seen the faded cuff before paying will not open a dispute about it later. On second-hand platforms like Vinted and eBay, clear flaw photos also make a listing look more honest, which tends to help it sell.
6. Marketplace photo rules
Each platform checks different things. The most important difference is the main image: Amazon is strict, while Etsy, eBay and Vinted mainly reward clear, large, well-lit photos.
| Marketplace | Main image | Size | Worth knowing |
|---|---|---|---|
| Amazon | Pure white background (RGB 255, 255, 255). Adult clothing on a model; kids' clothing and multipacks flat. No visible mannequin or hanger. | 1000 px or more on the long side for zoom; product fills about 85% of the frame | Off-white or light grey backgrounds can be flagged. Props and text on the main image are not allowed. |
| Etsy | Any clean background. Lifestyle photos are welcome. | At least 2000 px on the shortest side recommended; the first photo at least 635 px | Thumbnails are cropped, so keep the garment in the centre. 4:3 or square works best. |
| eBay | White or plain background recommended | At least 500 px on the long side; 1600 px recommended | No borders or added text. Photos of the actual item are expected for used clothing. |
| Vinted | Your own photos of the actual item | Portrait photos fill the feed best | The first photo decides the click. Daylight and a plain background stand out in a feed of bedroom snapshots. |
Checked against the platforms' seller guidelines on 7 November 2026. Rules change, so check the current help pages before a large photo session.
7. Mistakes that cost sales
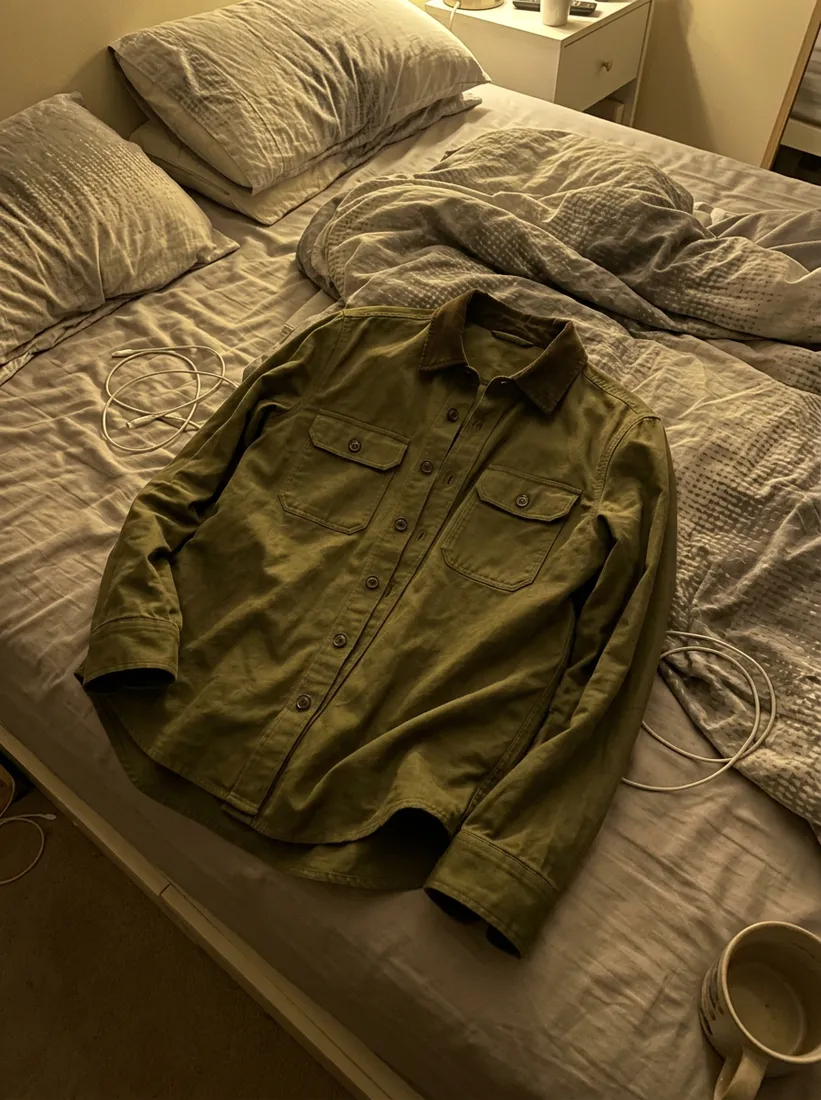
The photo on the left is how most second-hand clothing is listed. It is the same overshirt as in every other photo in this guide. Nothing about the garment changed, only the preparation and the light.
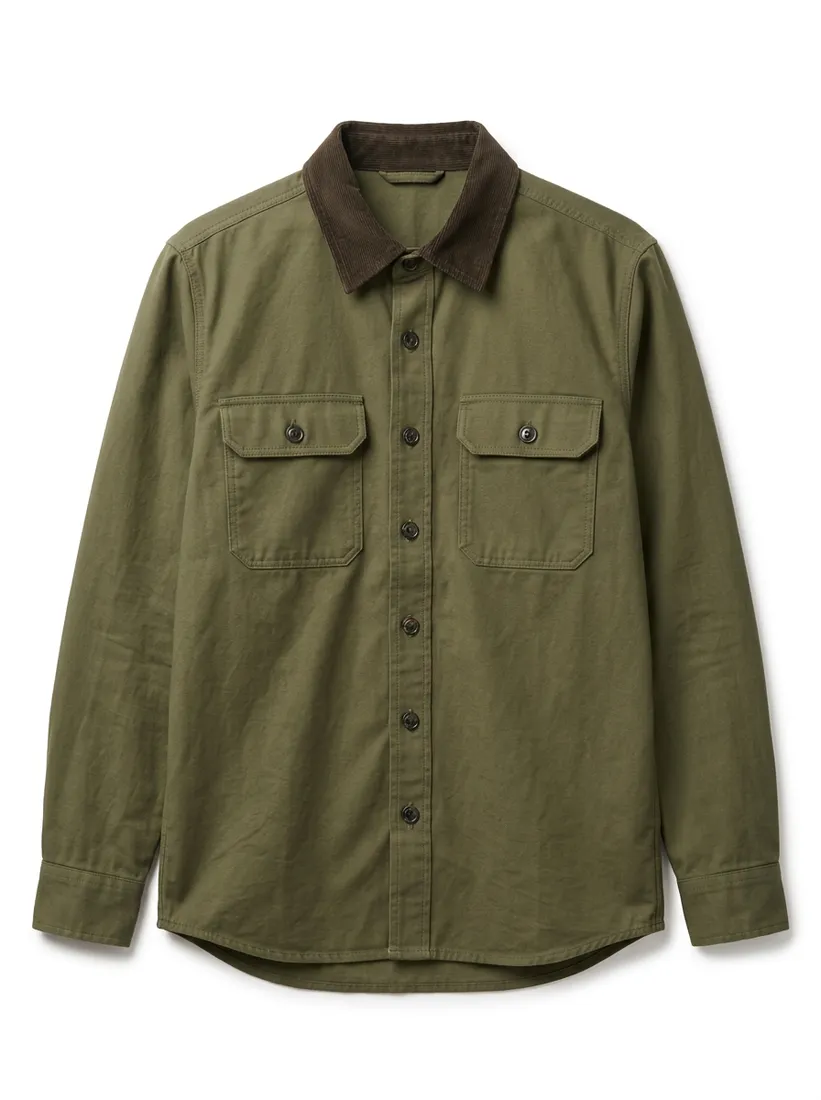
The most common mistakes we see in clothing listings:
- A busy background. Bedding, carpets and furniture pull the eye away from the garment and make the item look less cared for.
- Warm indoor light. Buyers return items because the colour was different. Daylight is the cheapest way to avoid that.
- The wide-angle lens. Shooting from close up with 0.5x makes shoulders look narrow and hems curved.
- Too few photos. One front photo leaves buyers guessing about the back, the fabric and the size.
- Hiding flaws. It saves one sale and costs a review.
Photolisto
No window, no model? Start from a phone photo
Upload the photos you have. Photolisto turns them into a white-background main image that meets marketplace rules, and into photos on a model or in a lifestyle scene, and it is built to keep the garment as you photographed it: the same colour, the same buttons, the same wear.
8. Questions sellers ask
Do I need a professional camera to photograph clothes?
No. A phone from the last few years is sharp enough for Etsy, eBay, Vinted and Amazon. Light and preparation make far more difference than the camera.
What is the best background for clothing photos?
Plain white or very light grey. White foam board is cheap, easy to clean and works for both hanging and flat lay photos. For an Amazon main image the background has to be pure white, which usually needs editing.
How many photos should a clothing listing have?
At least five, ideally eight: front, back, side, fabric, hardware, size label, flaws and one on a person. Etsy allows up to 20 and eBay up to 24.
Should I photograph clothes on a hanger or flat?
Flat lays are more consistent and easier to edit onto white. Hangers work for structured items like coats and dresses. If you sell on Amazon, neither the hanger nor a mannequin may be visible in the main image.
How do I photograph black clothing?
Use more light than you think you need, keep flash off and lock exposure on the fabric, not the background. A grey board instead of white helps the phone keep detail in the black.
The photos in this guide are illustrations made with AI to show every method on one garment.